Boat Floor Repair Near Me
Boating is one of the most exciting outdoor activities you can ever get yourself into. Whether you're a seasoned seafarer or just starting out, there's nothing quite like the feeling of the wind in your face and the sun on your skin as you venture out into the open waters. However, maintaining your boat can be a challenging task, especially if you don't know what you're doing. One of the most common issues that boat owners face is a damaged or rotting boat floor. If you're in this situation, you're not alone. Many boat owners have to deal with damaged floors due to constant exposure to the elements, water, and salt. Fortunately, there are ways to restore your boat floor to its former glory, and we're here to help you. In this post, we'll share some tips on boat floor replacement and repair, so you can get back to enjoying your time on the water. Before we dive into the nitty-gritty of boat floor replacement, let's first understand what causes boat floors to become damaged. One of the main culprits is water damage. When water seeps into your boat floor, it can cause the wood to rot, which weakens the structure and makes it unsafe for use. Another cause of boat floor damage is wear and tear. If you frequently use your boat, the constant foot traffic and weight can cause the floor to crack, splinter, or even break. Now that you know the reasons behind the damage, let's move on to the steps you can take to replace or repair your boat floor. Step 1: Inspect the Damage The first step in repairing or replacing your boat floor is to identify the extent of the damage. This will help you determine whether you need to replace the entire floor or just patch up the damaged sections. If the damage is severe, it's best to replace the entire floor, as it will be more cost-effective in the long run. To inspect the damage, start by removing any cushions, seats, or fixtures that may be covering the floor. This will give you an unobstructed view of the entire area. Next, check for any softness, rot, or discoloration on the floorboards. If you notice any of these signs, you may need to replace the entire floor. Step 2: Remove the Old Floor Once you've identified the extent of the damage, it's time to remove the old floor. Start by cutting out the damaged sections with a circular saw. Be sure to wear protective gear, such as gloves and goggles, to avoid injury. If you're removing the entire floor, use a pry bar to lift it out of the boat. Step 3: Prepare the Surface After removing the old floor, you need to prepare the surface for the new flooring. This involves removing any old adhesive, cleaning the surface, and sanding it down to create a smooth, even surface. If there is any rot or damage to the subfloor, repair it before proceeding. Step 4: Install the New Floor Now that the surface is prepared, it's time to install the new floor. There are several options for boat flooring, including wood, vinyl, and fiberglass. Choose a flooring material that is durable, water-resistant, and fits your budget. For wood floors, use marine-grade plywood or hardwood that is coated with multiple layers of epoxy resin to protect it from water damage. To install the new floor, start by measuring and cutting the flooring material to fit the boat's dimensions. Apply adhesive to the subfloor, and then lay the flooring material on top. Apply pressure to the floor to ensure a tight fit. If you're using wood floors, be sure to coat it with several layers of epoxy resin before installation. Step 5: Finish the Job The final step in boat floor replacement is finishing the job. Install any fixtures, such as seats, helm stations, or cabinets, that were removed during the process. Clean the floor and remove any excess adhesive. Take the boat out on a test run to ensure that the new floor is secure, safe, and functioning properly. Conclusion Repairing or replacing a boat floor can be a daunting task for many boat owners. However, with the right materials, tools, and knowledge, you can restore your boat floor and get back to enjoying your time on the water. Make sure to inspect the damage, remove the old floor, prepare the surface, install the new floor, and finish the job. Follow these steps, and you'll be back out on the water in no time. Happy boating! 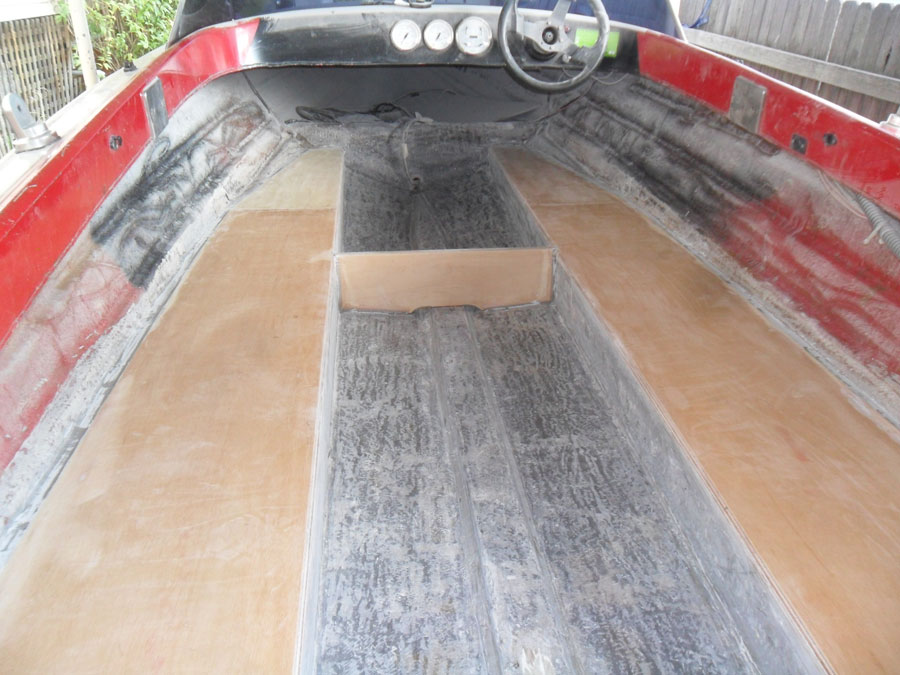 customfibreglassing.com
  pensacolashipyard.com
 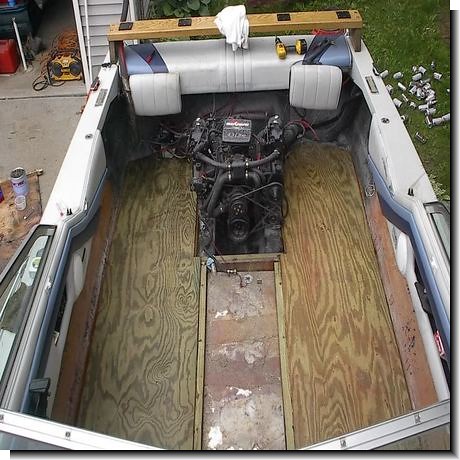 stunnedbydesign.blogspot.com
  customfibreglassing.com
  www.youtube.com
 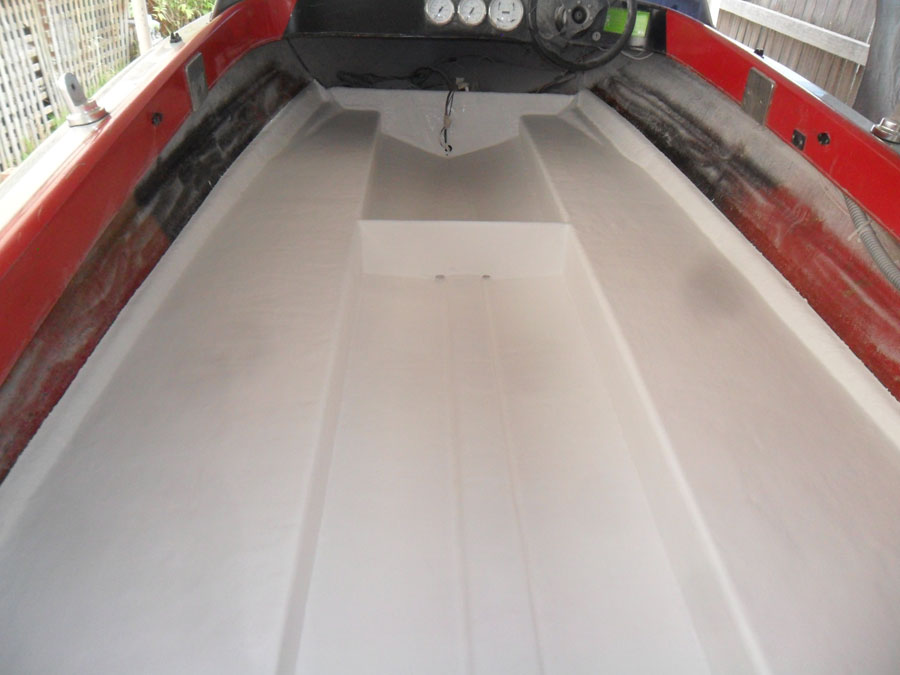 customfibreglassing.com
 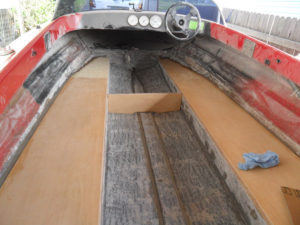 customfibreglassing.com
If you are searching about boat_floor_repair_13 | Custom Fibreglassing you've came to the right web. We have 7 Pictures about boat_floor_repair_13 | Custom Fibreglassing like boat_floor_repair_12 – Custom Fibreglassing, boat_floor_repair_13 | Custom Fibreglassing and also Boat floor replacement 14 - YouTube. Here it is:
Boat_floor_repair_13 | Custom Fibreglassing
customfibreglassing.com Overlooked But Important Boat Floor Repair - Pensacola Shipyard
pensacolashipyard.com repair floor boat overlooked important but
Boat Floor Replacement
stunnedbydesign.blogspot.com Boat_floor_repair_01 | Custom Fibreglassing
customfibreglassing.com Boat Floor Replacement 14 - YouTube
www.youtube.com boat floor replacement
Boat_floor_repair_18 | Custom Fibreglassing
customfibreglassing.com Boat_floor_repair_12 – Custom Fibreglassing
customfibreglassing.com Overlooked but important boat floor repair. Boat floor replacement. Boat floor replacement 14
Post a Comment for "Boat Floor Repair Near Me"